
A proper Installation Guide will be helpful to us
Tools/Equipment:
3×360°3D Laser Level Self Leveling, Grinding/Cutting Machine, Tapping Rod, Marker, Moisture Meter, Tri-Square Ruler, Broom/Dustpan, Tapping Block, Spacer, Plastic Mallet, Pencil, Pen knife, Spirit level, Masking Tape, Adhesive
Checking list before Installation:
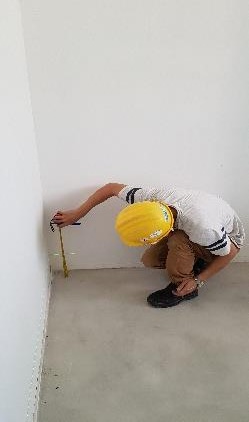
- Checking the level of adjoining areas
- For the Master bedroom, check the finished floor tile levels of the corridor and toilet entrance using a 3-way laser
- The difference in levels between corridor and toilet floor tiles should not be more than 1mm.
- Checking the floor Screed level
- Floor screed level should be 5mm lower than corridor floor tiles.
- For master bedroom, use a 3-way laser to check minimum of 6 points, (4 corners, bedroom entrance and toilet entrance)
- For floor levels that are higher, grinding machine is used to make the surface even.
- The flooring surface must be level & even.
- For floor levels that have depression that is more than 3mm, over 1.2m in length.
- Checking other hollowness
- Use a Tapping rod to check the completed floor screed for any hollow sound.
- For areas with hollowness, use a marker to mark the affected areas.
- Cut the area using a grinding/cutting machine and remove the defective floor screed.
- Redo the floor screed
- Checking the corners squareness of the wall
- Check the floor screed moisture content using a moisture meter.
- Moisture content should not be more than 6%, and if the content exceeds, the floor screed needs to dry prior to vinyl floor installation.

The preparation of flooring
- Ensure window glazing and timber doors are installed prior to vinyl flooring installation.
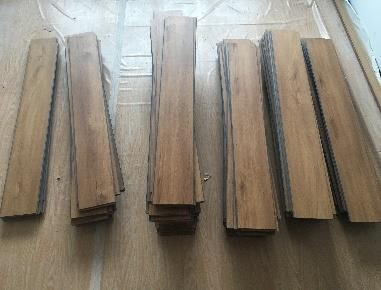
- Vinyl strips are to be exposed and left in the location of installation to acclimatize for up to 48 hours prior to installation.
- For the individual project, only one batch of vinyl strips will be produced to prevent excessive color variations and patchiness.
- Check all four sides of vinyl strips for defects before laying. The vinyl strips shall have no warpage or deformation, Sort strips to ensure there is no clustering of patterns.
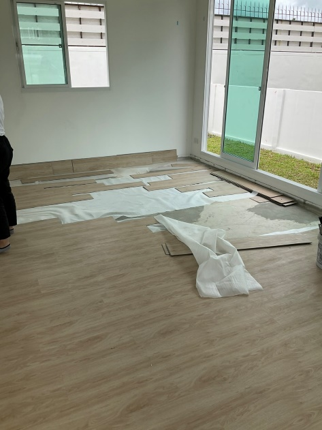
- Dry lay to follow setting-out drawings to be pasted on walls.
- Use a broom to sweep the floor and clear the area of installation free of dust and dirt.
The installation process of Vinyl Flooring
- The first row the strips should not have knots.
- Prior to the installation of the 1st piece at the bedroom entrance, the level must be checked to prevent mismatch in level between adjoining areas such as the corridor and master bath. Surface condition to be acceptable before the commencement of installation.
- To prevent movement of the first row, adhesive needs to apply in a wave pattern.
- Subsequent rows of vinyl strips will start about 243mm from the previous row.
- Install by clicking tongue and groove and use tapping block to further secure clicking.
- Use 5mm spacers at the perimeter wall to allow for expansion.
- For cut pieces, take measurements and use a pencil to mark for the portion that requires to be trimmed.
- Cut the vinyl strip using a pen knife and install.
- For floor tiles termination, gaps between the vinyl floor and floor tile should not exceed 5mm.
- Seal the gap with adhesive and install the Aluminium T-capping/molding at the inner frame of the bedroom and toilet doors.
Notice when in the installation:
Defects Rechecking
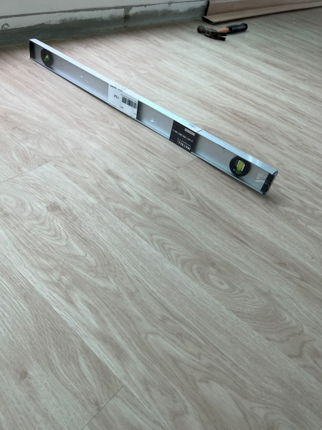
- Use Spirit level to check the evenness of the completed vinyl floor, unevenness should not be more than 3mm over 1.2 meters in length. (the length depends on the length of the flooring)
- Check for any crack and visible damages.
- Check for any vertical movement when walking on the vinyl floor.
- No visible gaps between vinyl strips.
- Check for consistency in pattern.